Active Directory Part 1 - Lab Setup
Why Active Directory?
Active Directory (AD) is a critical component in many IT environments, especially within organizations using Microsoft technologies. It is estimated that well over 90% of Fortune 1000 companies implement Active Directory services in some form. That is why it is crucial for anyone that wants to enter the IT field, must set up their own AD Lab to practice on. Here are some of the features provided by AD:
- Active Directory allows administrators to centrally manage user accounts, computers, and groups using a single centralized database. Tasks such as user creation, password changes, and permission management can be done from a single machine and applied to the whole domain.
- A feature called Group Policy implements domain wide configurations such as security settings and software installations across all computers.
- Another major part of Active Directory is Directory Services. This is basically like a repository (or database) that maps out all of the network resources on the domain, making them easily accessible. Such resources include printers, computers, and file shares.
- AD can also perform Single Sign-On (SSO) and access control. SSO is a way for users to log in one time and still access more than one resource on the network with specific permissions. Active Directory does this using one of two protocols: Kerberos or LDAP.
- Other features include Federation Services (ADFS), Auditing & Monitoring, and redundancy/fault tolerance.
The next parts of this post are a walk-through on how I set up Active Directory in my Homelab environment.
Creating Server and Client VMs in Proxmox
Every Active Directory environment will need at least a version of Windows Server for the Domain Controller, and one or more machines running Windows 7/8/10/11 for our workstations. I chose to run Windows Server 2019 and Windows 10 as virtual machines inside of a virtualization environment called Proxmox.
Links to the ISOs:
Please note:
- Windows 10 has four different editions: Home, Pro, Education, and Enterprise.
- Windows 10 Home edition CANNOT be used to join a domain.
- In order to use Windows 10 in an AD environment, you must choose any one of the other three editions.
- Windows 7 and 8 are the same way.
Proxmox VE (Virtual Environment) is a Linux-based and open-source virtualization management solution. It is also a “Type 1” hypervisor, meaning it is run directly on a machine’s physical hardware as the machine’s operating system. “Type 2” hypervisors, such as Virtualbox and VMware Workstation, run as an application on top of an already existing OS.
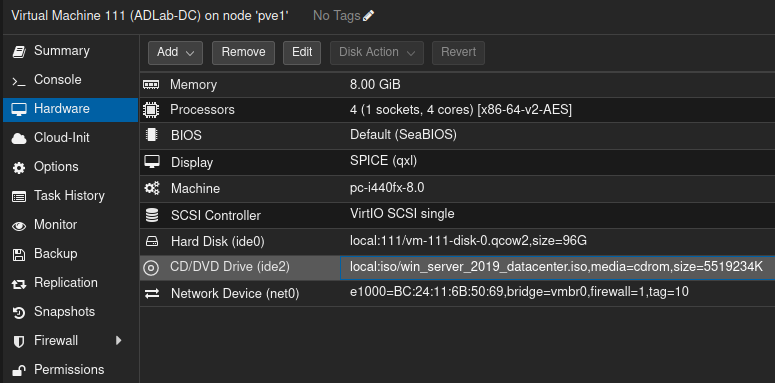
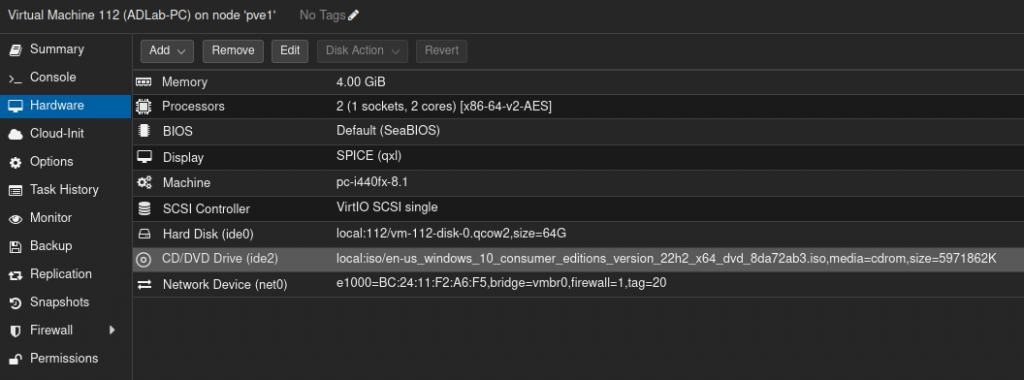
After downloading my ISO’s, I went ahead and created two VMs on Proxmox. The screenshots below show the hardware specifications I used for each VM.
Setting Up Windows Server
Installing Windows Server
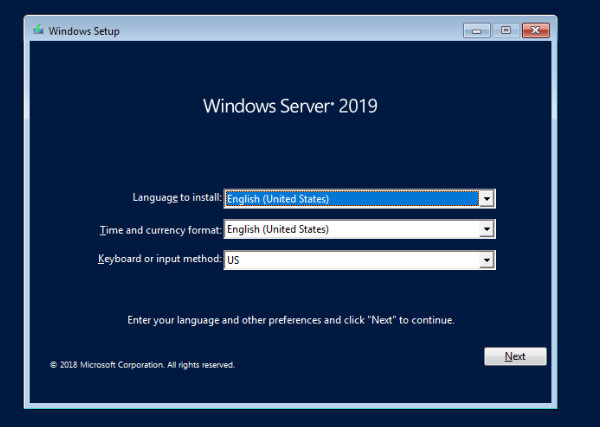
Once the VM is set up correctly, the next step is to start the VM and install the operating system. (Make sure it is set up to boot the ISO before booting).
Once it has booted, select your preferences and click Next.
Click Install now.

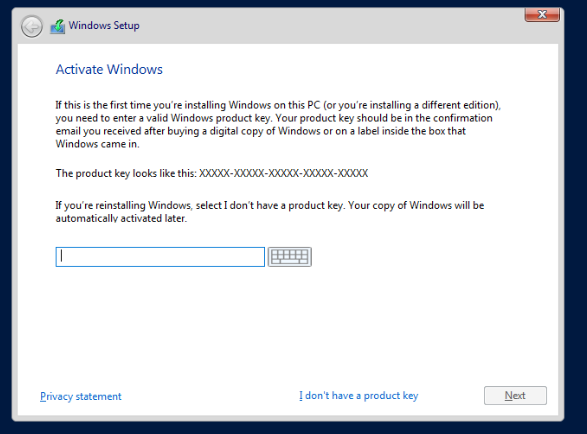
Insert CD key if you have one. If not, you may get a free trial but it will expire after a set time. After that click Next.
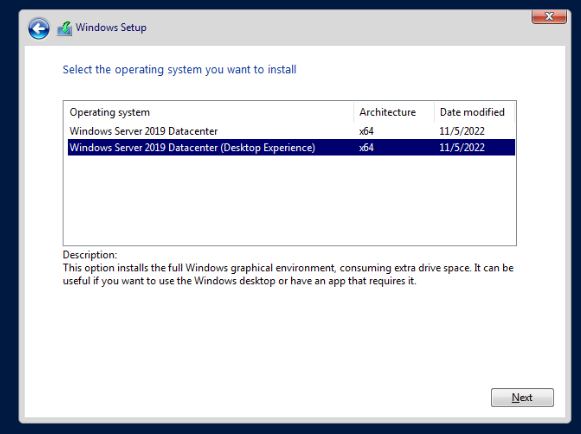
You can choose to install with just a command-line environment or with a Desktop environment. I chose the latter (Desktop Experience).
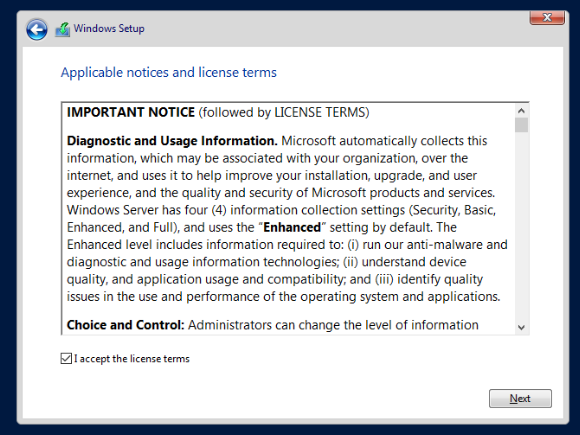
Accept the license terms and click Next.
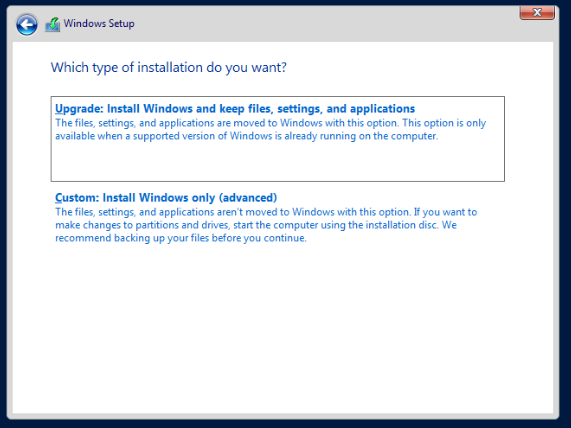
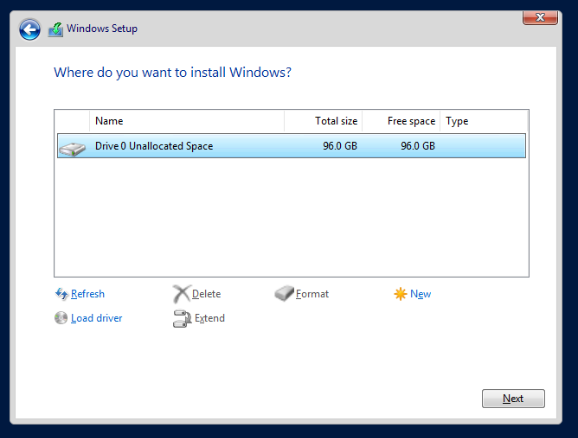
Select the Custom Install option.
Select Drive 0 and click Next.
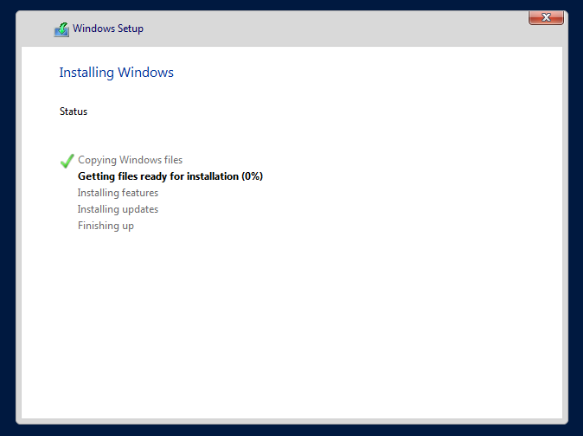
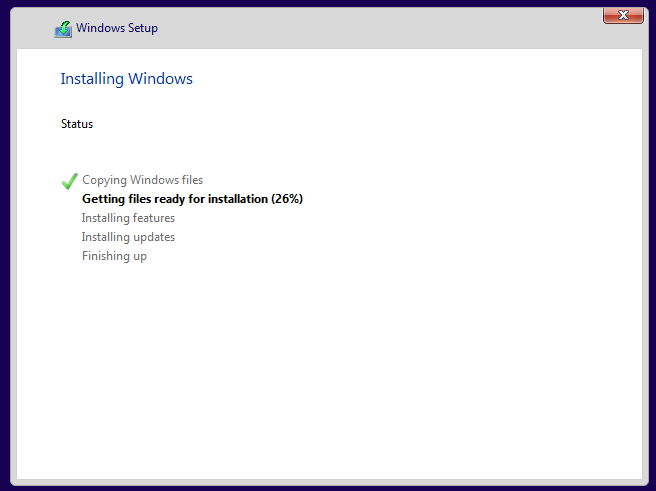
The setup wizard will now start the install process. Once it completes it should reboot the virtual machine.
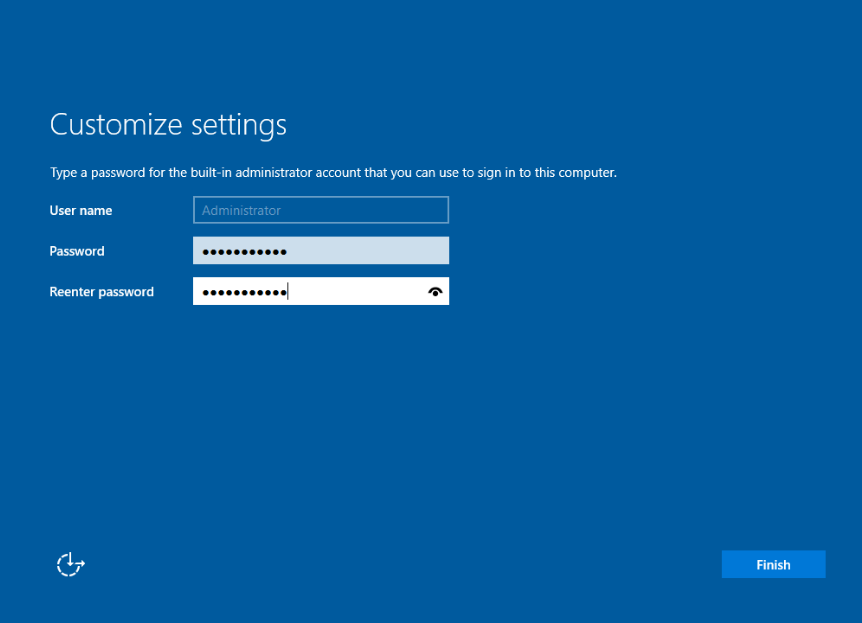
After the VM reboots, it should prompt you to set up a password. After doing so, click Finish.
Windows Server should now be ready.
Configuring Windows Server
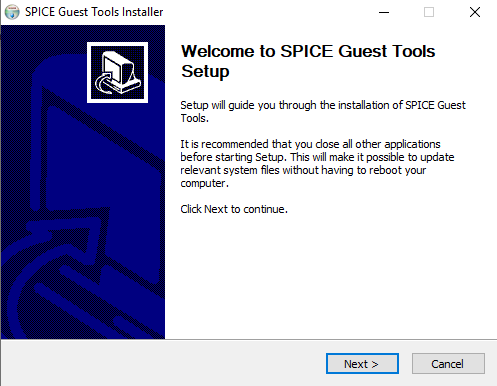
If you are running your server in a virtual machine, it’s always helpful to install guest tools on it. Guest tools are software that allow your keyboard and mouse input to pass to the virtual machine. Which tools to install and how to install them depends on what hypervisor you are using. For example, VMware uses “VMware Tools”.
For my lab, I am using “Spice Guest Tools”.
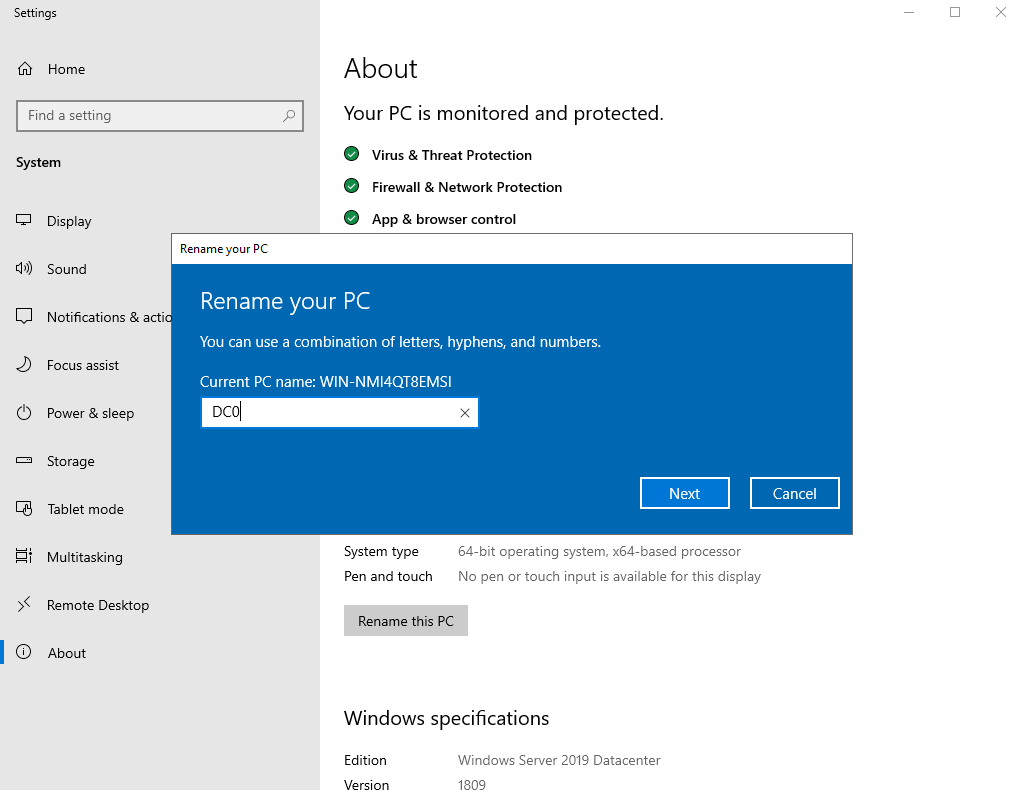
The next step is to rename the machine.
To rename the machine, click the start menu and search About. Then click on About your PC.
Click on Rename this PC, and rename it to whatever you like. Then click Restart Now for it to take effect immediately.
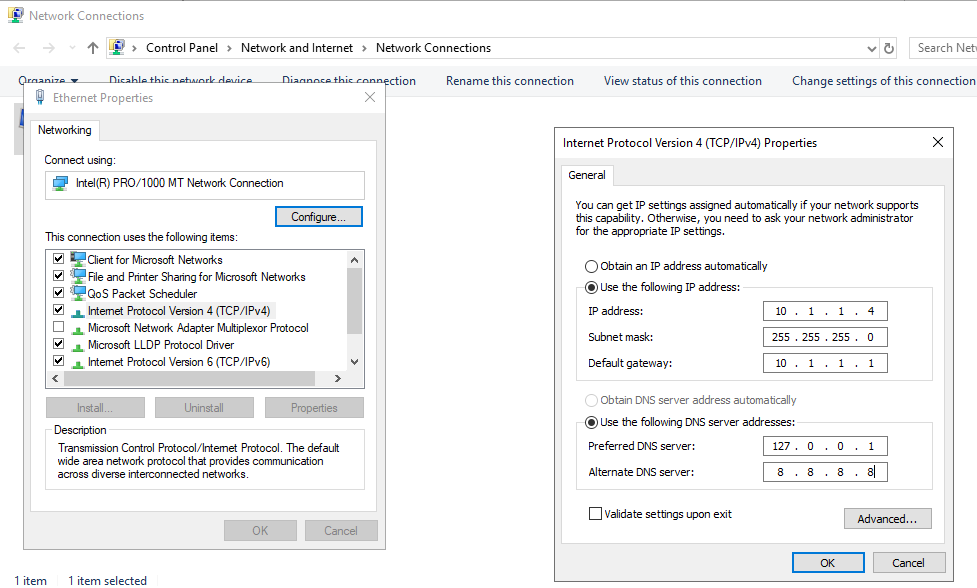
After renaming the machine, the next task is to give it a static IP address.
We need to give it a static IP address because it is a server, and servers usually should always keep the same IP address for long periods of time. Therefore, DHCP should not be in use here.
- Right click on the network icon in the task bar
- Click Open Network & Internet settings
- Click the Ethernet tab, then click Change adapter options
- Right click the adapter you want to configure and click Properties
- Highlight the “TCP/IPv4” settings and click Properties
- Select “Use the following IP address” and “Use the following DNS server addresses” settings
- Enter the required information then click OK
- For DNS, set the preferred DNS to localhost (127.0.0.1) and the alternative DNS to a public DNS
- After that, restart the VM
After rebooting, we should be ready to finally install Active Directory.
Installing Active Directory
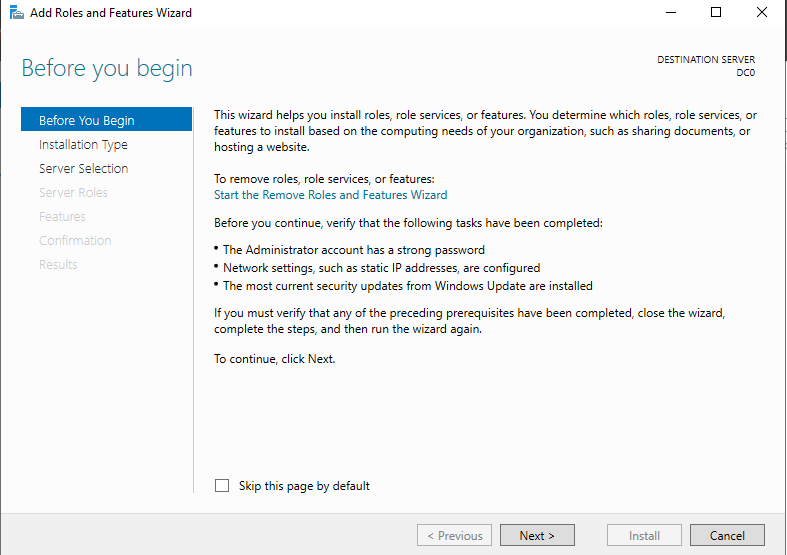
First, open the Server Manager if it is not already open. Click on the Manage tab, then click on Add Roles and Features. This should open up an install wizard for setting up server roles.
At the “Before You Begin” page, click Next.
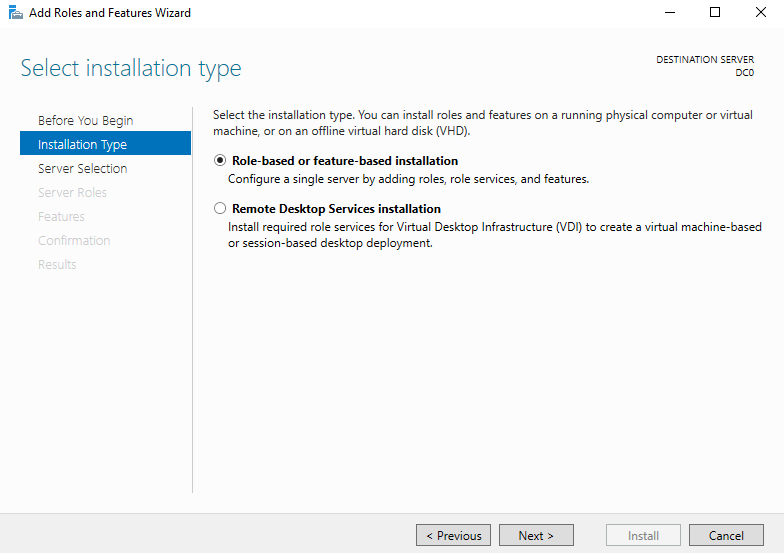
For the “Installation Type” page, select Role-based or feature-based installation. Then click Next.
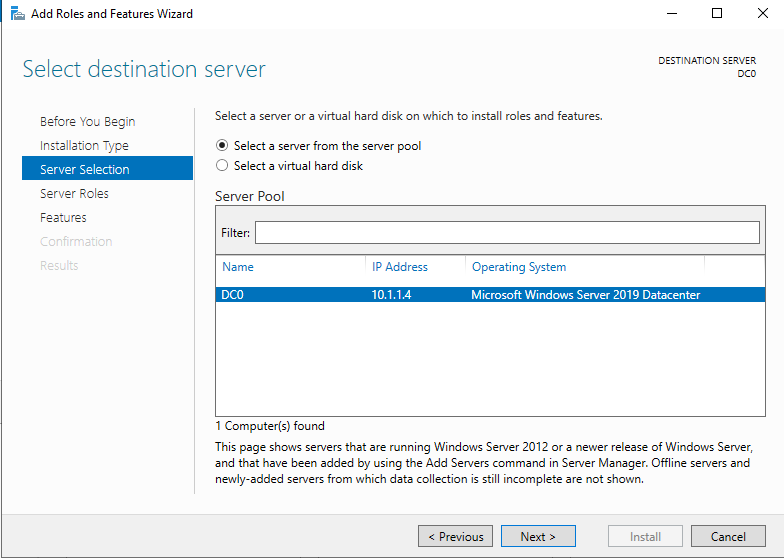
On the “Server Selection” page, select your server (there should only be one) and click Next.
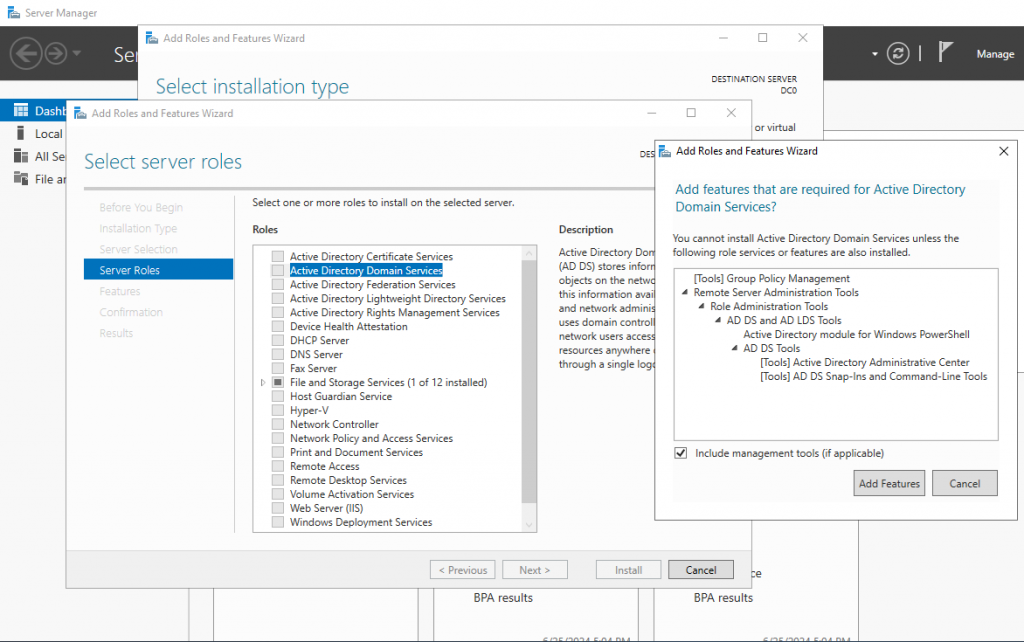
Now for the Server Roles. Select the Active Directory Domain Services role. A pop-up window should come up. Leave the required features as is and click Add Features. Then click Next.
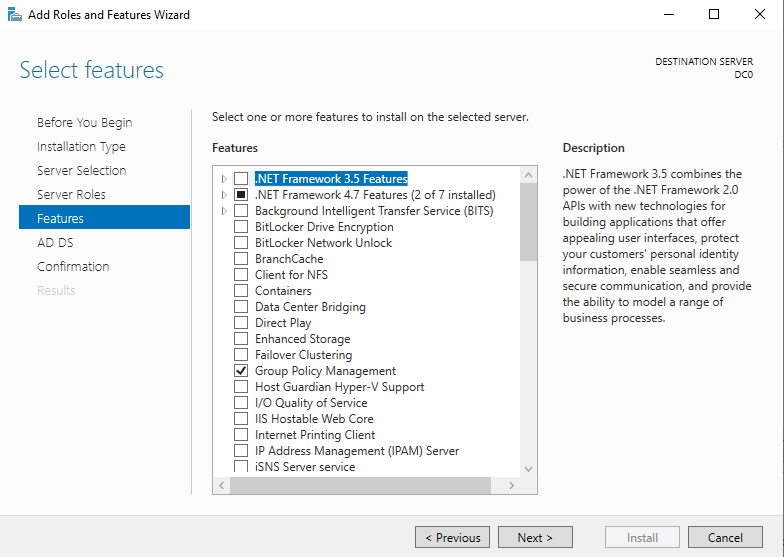
At the “Features” page, we don’t need any more features, so just click Next again.
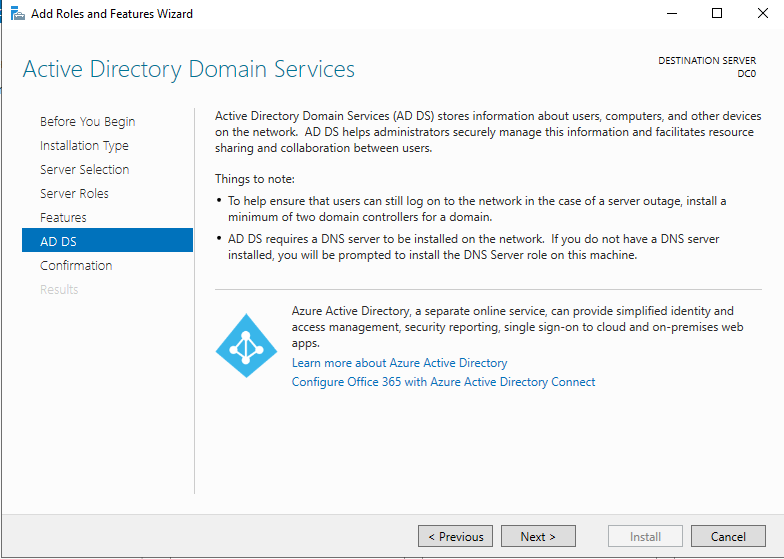
The “AD DS” page will tell us that we will need to install the DNS role for Active Directory to work properly. We will do that later. Click Next.
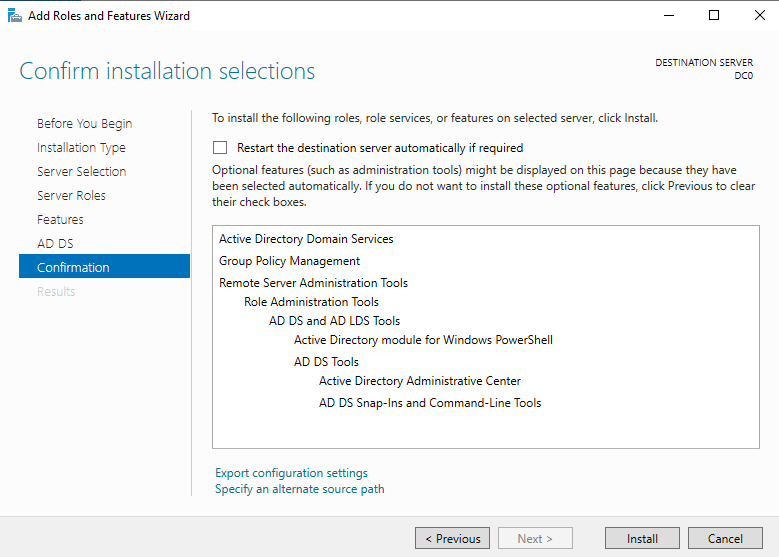
At the “Confirmation” page, confirm your choices and click Install.
The wizard will now install AD DS to your server. Once it is successfully finished, click Close.
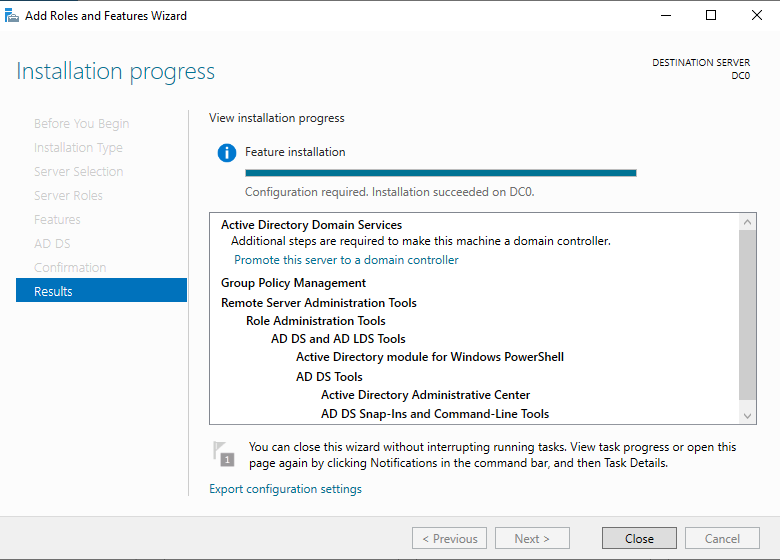
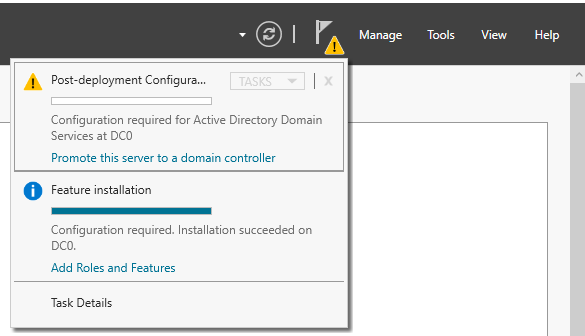
A notification should appear on your dashboard. Click the icon and then click Promote this server to a domain controller.
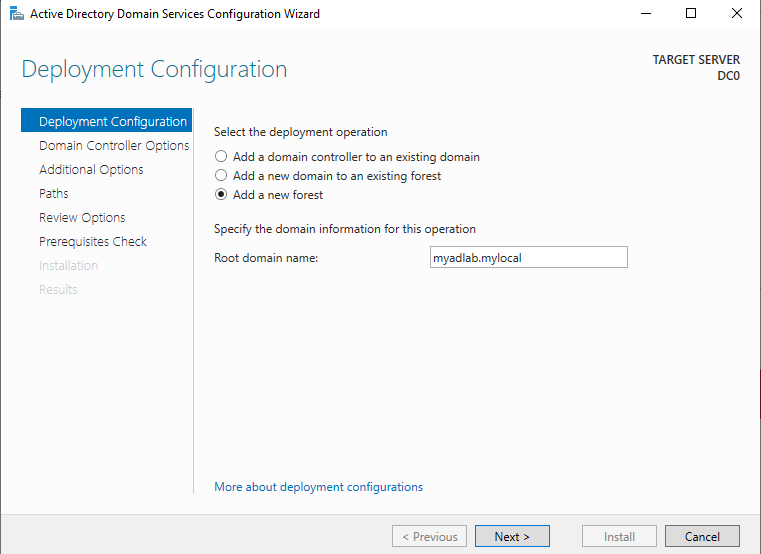
A new window should pop up. Since we have not set up a domain before, select Add a new forest and enter a root domain name. Click Next.
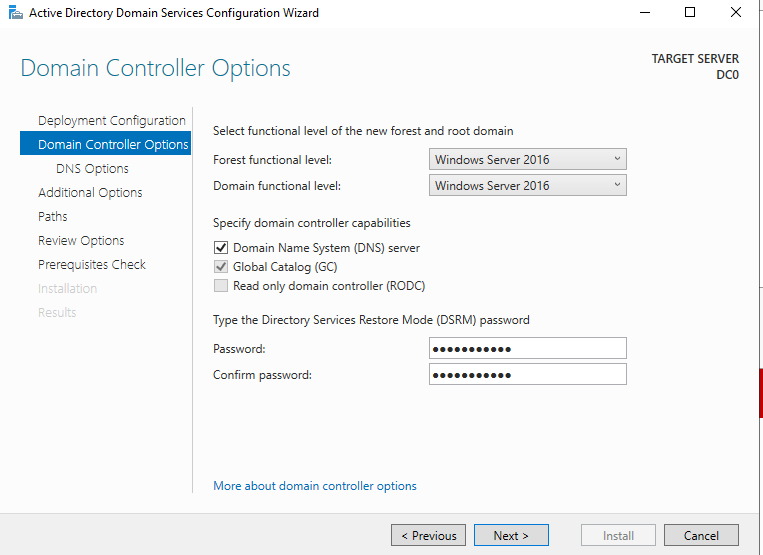
On the DC Options page, select the highest possible Forest and Domain function levels. Make sure the “DNS server” box is checked. The other boxes are grayed out because it is a new forest. Choose a password and click Next.
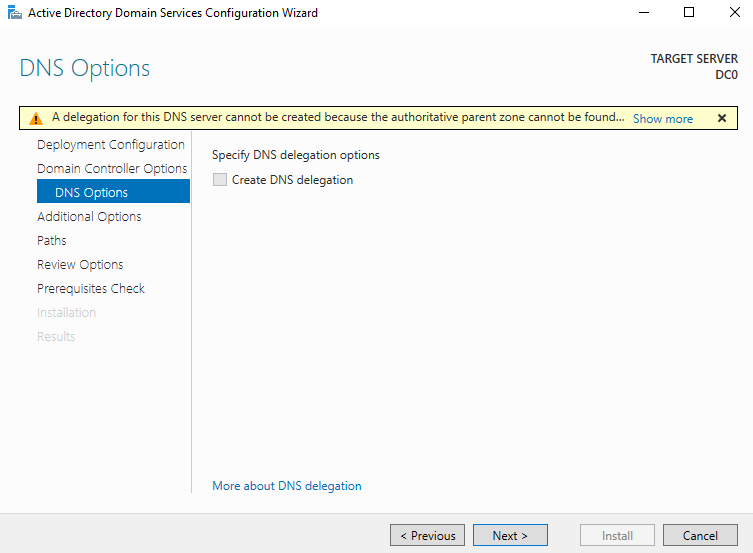
On the “DNS Options” page, leave the box unchecked and click Next.
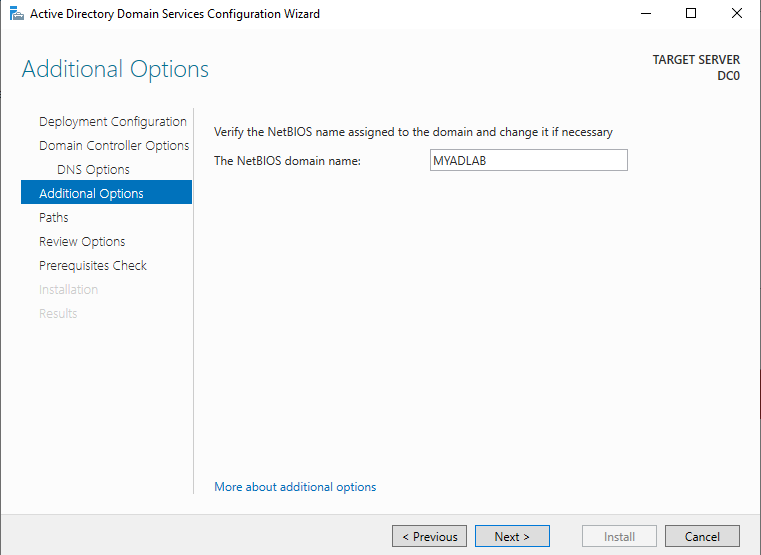
For “Additional Options”, choose a NetBIOS domain name or leave the generated one as is. Click Next.
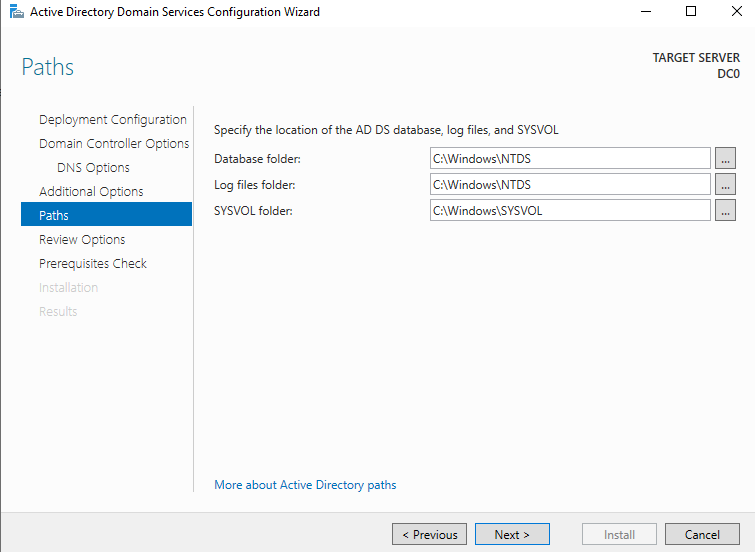
For “Paths”, you can choose the drives and locations for the Database, Logs, and SYSVOL folders. You can leave them as default and click Next.
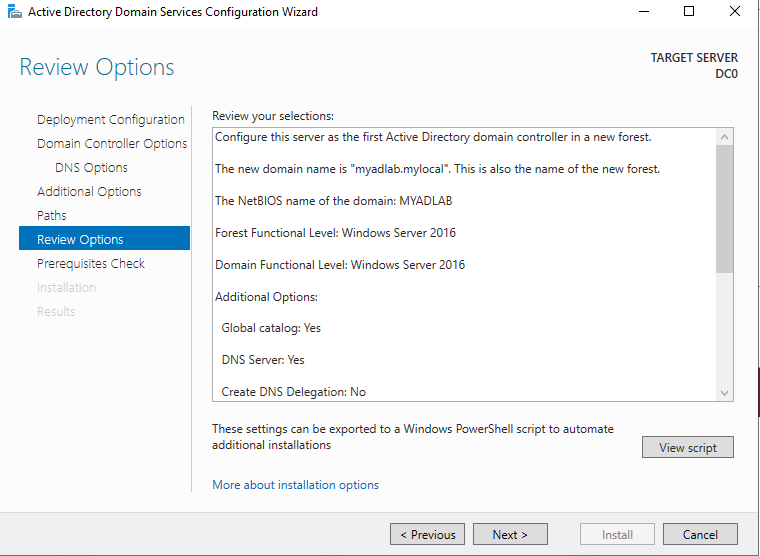
Review the options and click Next.
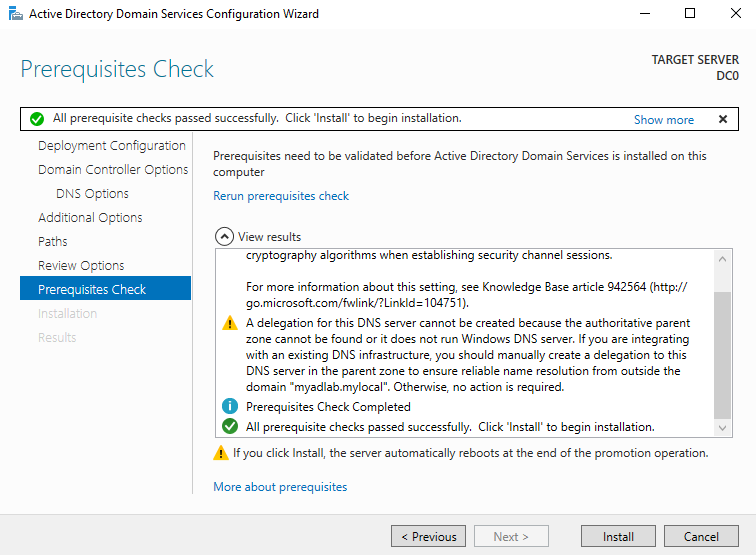
At the “Prerequisites Check” page, you should get an “All prerequisite checks passed” notification. You may also get a few warnings; that’s okay if they are not critical. Click Install.
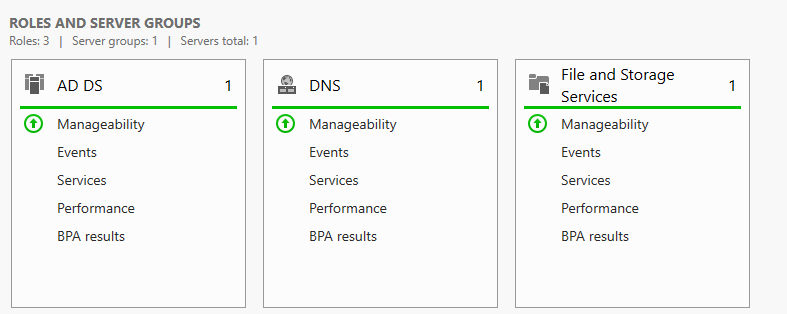
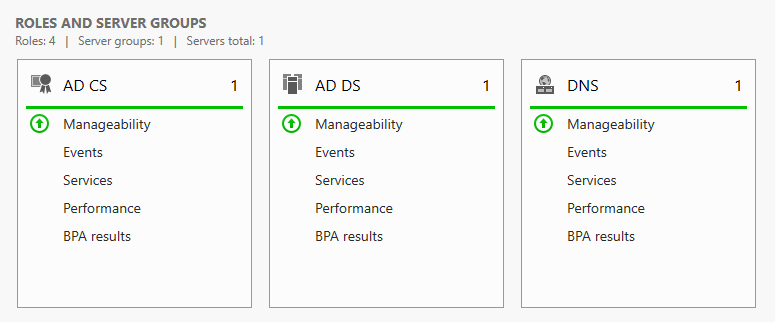
Your Active Directory should now install and your machine should reboot. After reboot, AD DS and DNS should be running. You can confirm on the dashboard.
Installing Active Directory Certificate Services (AD CS)
ADCS allows us to create certificate authorities to manage certificates for protocols and services, e.g., LDAPS.
The steps are almost the same as installing AD DS:
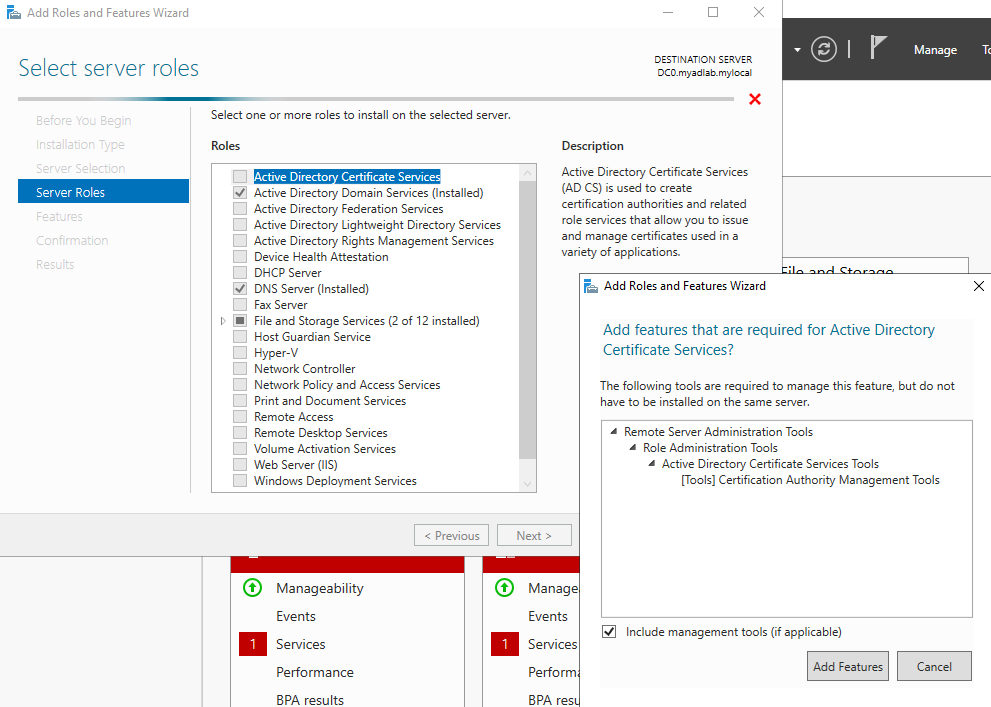
- Click the Manage tab, then Add Roles and Features.
- Leave defaults on the first three pages until “Server Roles”.
- Select Active Directory Certificate Services Role.
- Click Add Features, then Next.
- Leave “Features” page default and click Next.
- Click Next at the “AD CS” page.
- At the “Role Services” page, check Certificate Authority and click Next.
- Finally, click Install.
- When installation is finished, click Close and reboot.
Now we need to configure AD CS:
- Open the Notifications tab, find the new notification, and click Configure Active Directory Certificate Services…
- On the “Credentials” page, leave defaults and click Next.
- For “Role Services”, check Certificate Authority and click Next.
- Set the Setup Type as Enterprise CA.
- Set the CA Type as Root CA.
- Create a new private key.
- Leave cryptography as default and click Next.
- Leave CA Name as default and click Next.
- Change validity period if desired, click Next.
- Leave Certificate Database location as default and click Next.
- Confirm and click Configure.
- Finally, click Close and reboot your server.
AD CS should now be fully up and running.
Setting Up Windows 10
Installing Windows
Now it’s time to set up our first workstation.

After creating a Windows 10 VM, boot it up and start the installation process.
- Select Language, Time/Date format, and Keyboard Layout.
- Click Install Now.
- Enter a product key or click I don’t have a product key.
- Select your operating system.
- Note: Only Pro, Education, or Enterprise editions can connect to Active Directory.
- Accept License Terms.
- Select Custom Install → Select Drive.
- Wait for installation to finish.
After installing, the machine should reboot and start a second setup wizard.
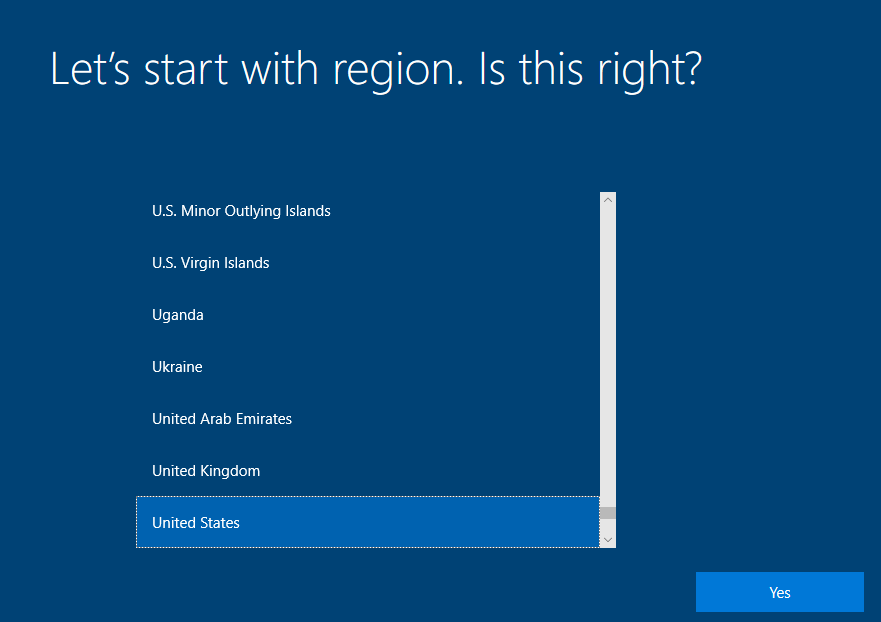
- Select your region.
- Setup Keyboard layouts.
- Instead of signing in with Microsoft account, select Domain Join instead.
- Enter a name and password for a temporary user.
- Fill out security questions.
- Select Privacy Settings.
- Disable Cortana.
After that, the setup should be complete. Now we only need to install guest tools to the VM and we are ready to connect to the Domain Controller.
Network Firewall Configuration
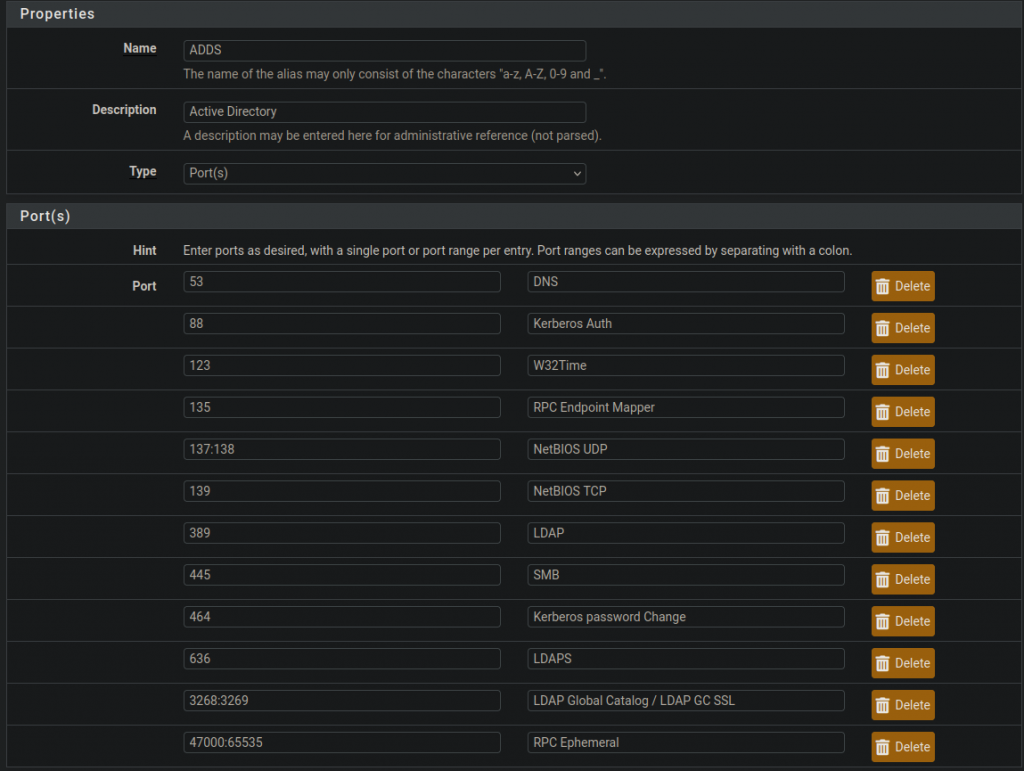
Port Allow List:
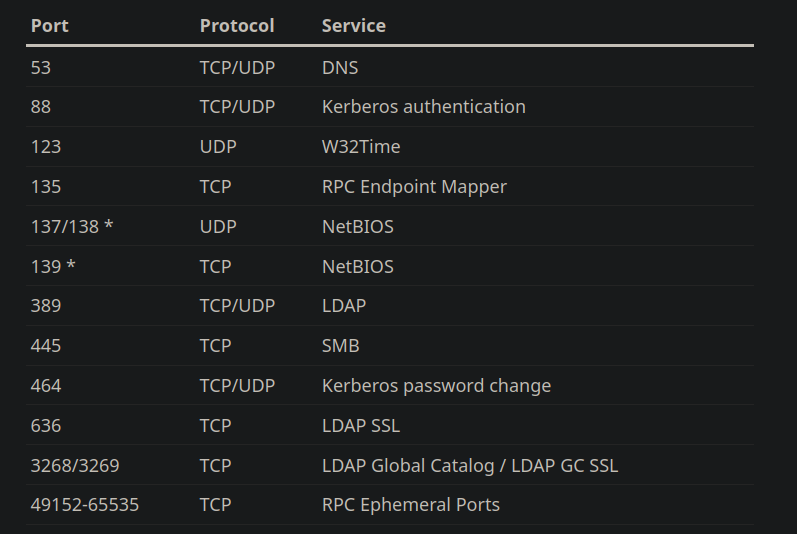
A lot of times an organization’s network isn’t flat. It could be segmented with multiple subnets, VLANs, and secured with firewall rules. That is sort of how built my Homelab. I designed my network using VLANs to segment it and Pfsense to handle routing and filtering. You can read more about it in my first blog post.
Long story short, I have configured my virtual machines to be on different VLANs. My internal services, including Active Directory, are tagged with VLAN 10. User devices and workstations are tagged with VLAN 20. This also means that they have to be routed through Pfsense in order to connect to each other. Therefore, I need to enable port numbers associated with Active Directory services, so that my workstation doesn’t get blocked from connecting to the DC. The diagram above lists some of the ports required for Active Directory to function.
In Pfsense, I created an alias grouping all of the required port number together:
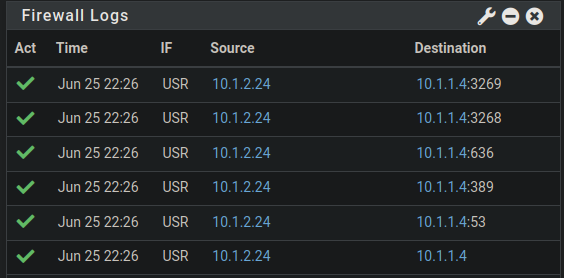
After that, I created a firewall rule using that alias to allow AD DS traffic between the UserLAN and the AdminLAN.

Now that my workstation has access to the DC, it’s ready to connect to the domain.
Connecting Windows 10 to Active Directory
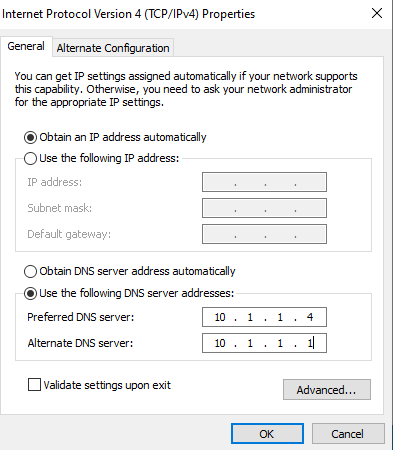
The first step is to configure the workstation to use the Domain Controller as its DNS server.
- On Windows 10, open Network and Internet Settings.
- Click the Ethernet tab.
- Click Change adapter options.
- Choose your adapter, right-click, and select Properties.
- Select IPv4 Properties.
- Choose Use the following DNS server addresses:
- Enter the Domain Controller’s IP as the preferred DNS.
- Enter either a local or public DNS as the alternative.
- Click OK, close settings, and reboot.
Next, rename the PC and join it to the Domain:
- Go to Start → About your PC.
- Click Rename this PC, enter a new name, and click Next → Restart later.
- Go to Connect to work or school in settings.
- Click Connect → Join this device to a local Active Directory domain.
- Enter the domain name and click Next.
- Enter Administrator credentials. Click Skip if asked to add an account.
- Restart the workstation.
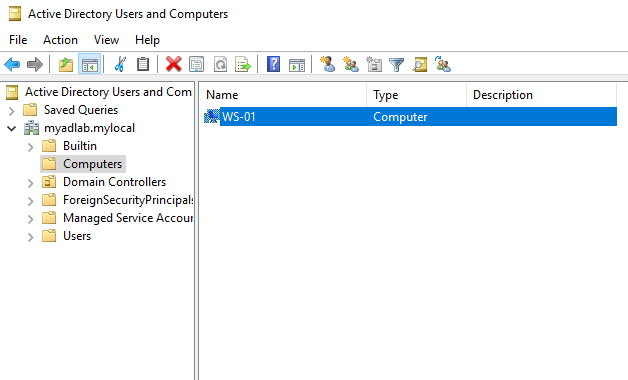
Now if you check Active Directory Users and Computers on the DC, the workstation is part of the domain.
End of Part 1
So far, we’ve:
- Set up virtual machines.
- Installed Active Directory (AD DS) and Active Directory Certificate Services (AD CS).
- Configured firewall rules for AD traffic.
- Connected a Windows 10 workstation to the domain.
In Part 2, we will expore common tasks like:
- Adding users and workstations.
- Reseting passwords of users.
- Configure Group Policy settings.